
Cold weather puts enormous stress on plumbing systems, especially in homes with pipes running through unheated areas. When temperatures drop, these pipes become vulnerable to freezing, cracking, or bursting—leading to costly water damage. Knowing how to use heat tape for frozen pipes gives homeowners a reliable way to protect exposed plumbing during harsh winters. Heat tape provides steady, controlled warmth that helps prevent ice buildup and keeps water moving. With the right type of heat tape and safe installation practices, you can add a valuable layer of protection to your home before winter storms arrive.
Why Heat Tape Helps Prevent Frozen Pipes
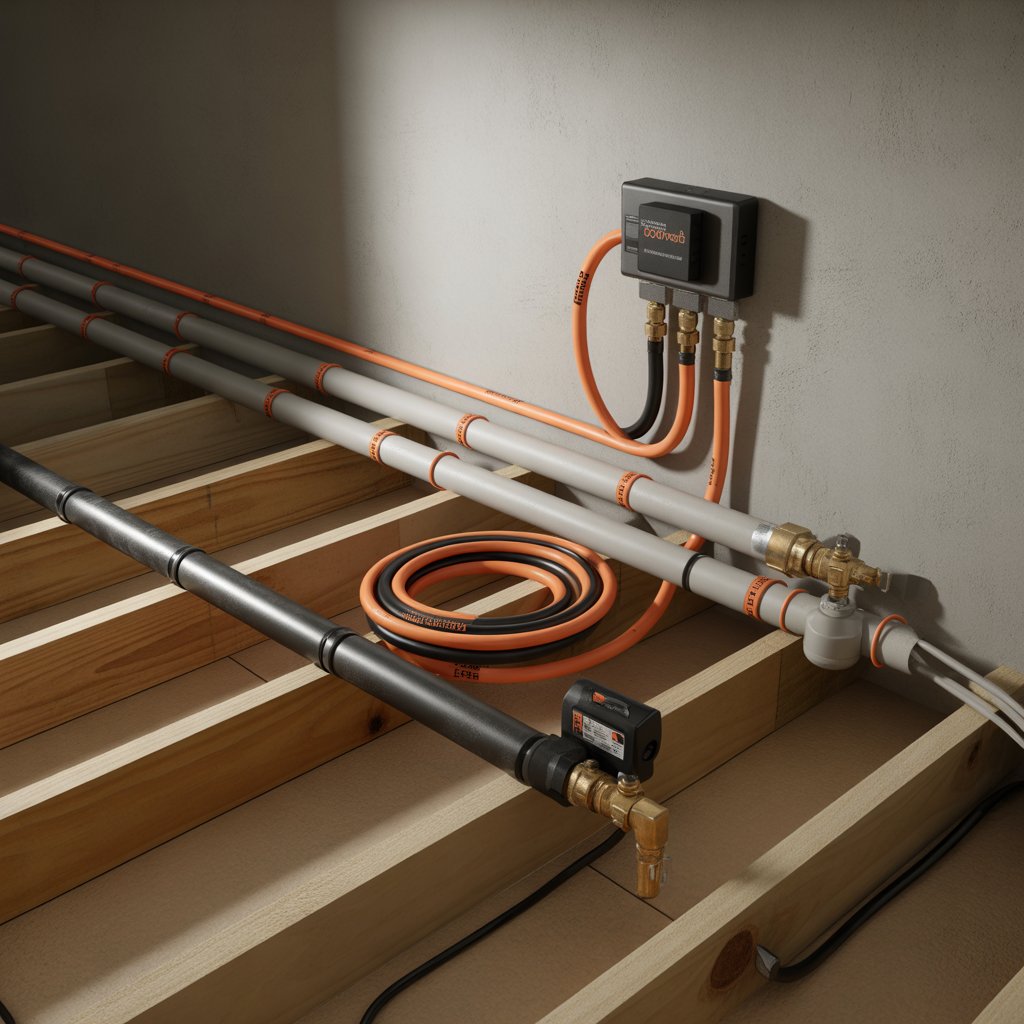
Heat tape is designed to provide gentle, consistent warmth along exposed plumbing. It reduces the chances of freezing in areas where insulation alone may not be enough. For homes with pipes in crawl spaces, garages, attics, or exterior walls, heat tape becomes an important winter safeguard. It works especially well in regions with recurring deep freezes, helping homeowners avoid the stress and surprise of suddenly losing water flow.
Choosing the Right Heat Tape for Your Home
Selecting the right heating tape for frozen pipes is essential for safe and effective protection. Many homeowners rely on self-regulating heat tape, which automatically adjusts its temperature as conditions change. This feature makes it energy-efficient and safer than older models. Thermostat-controlled heat tape is another option that activates only when temperatures fall below a set point. Choosing a UL-listed product and selecting a length appropriate for your pipe run ensures proper function when temperatures drop.
How to Use Heat Tape on Pipes Safely
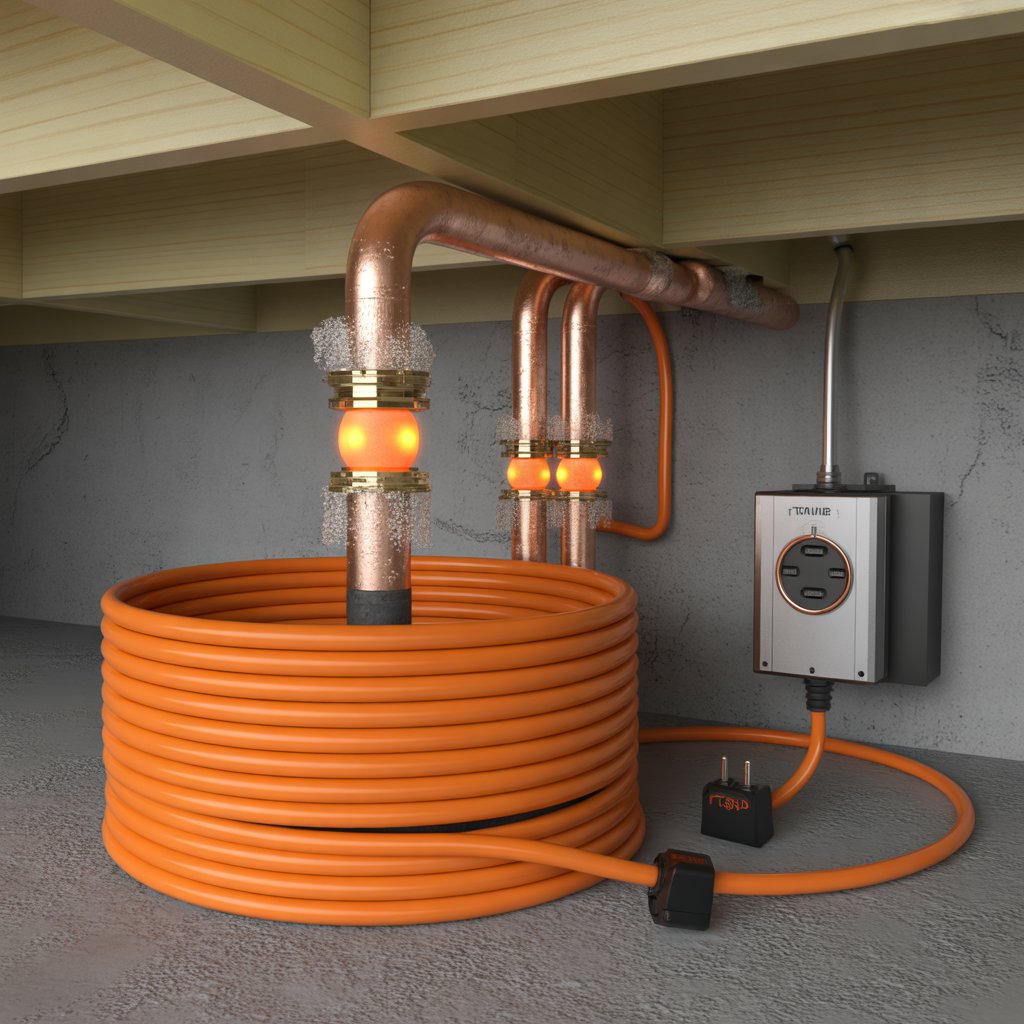
Heat tape must be applied carefully to avoid overheating or electrical issues. Before installation, check that the pipe is clean and dry. The tape should run along the pipe or wrap gently in a spiral pattern, depending on the product’s instructions. It must plug into a GFCI outlet, especially in areas where moisture is present. This provides important electrical protection. Securing the tape with approved fasteners and avoiding sharp bends helps the system operate safely throughout the season.
Correct Way to Wrap and Install Heat Tape
Proper placement is key to getting the full benefits of heating tape for frozen pipes. Avoid crossing the tape over itself, as this can lead to overheating. Follow the recommended spacing for spiral wrapping, and allow enough slack near the outlet for safe positioning. Once the tape is in place, many homeowners cover the pipe with insulation to help the heat distribute more evenly. Fiberglass or foam sleeves work well as long as the manufacturer allows them to be used with heat tape, giving homeowners an easy way to insulate exposed plumbing for added winter protection.
Safety Precautions Every Homeowner Should Know
Heat tape is effective, but it must be used with caution. Avoid using damaged cables, older tape that shows wear, or products that are not rated for your specific pipe type. Heat tape for PVC vs metal pipes may differ, so choosing the correct version prevents overheating. Keep extension cords away from this setup—they increase electrical risks. Regularly check the tape through the season for warm operation and visible signs of issues.
Common Mistakes to Avoid When Installing Heat Tape
Homeowners sometimes make small errors that reduce the tape’s effectiveness. Wrapping tape too tightly, overlapping sections, or installing it on pipes that are already cracked can create hazards. Using the wrong insulation or covering the thermostat area can also interfere with performance. Ensuring the tape is installed on pipes in good condition and following the manufacturer’s guidance prevents most issues before they occur.
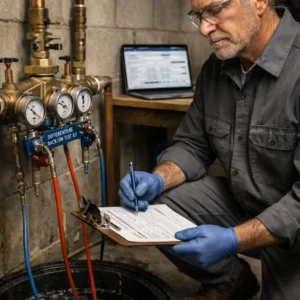
Testing Heat Tape Before Winter
Before freezing temperatures arrive, test your heat tape to confirm it still works. Plug it into a GFCI outlet and feel for gradual warmth along its length. This simple check makes it easier to tell when a replacement is needed. Many products come with indicator lights, but a physical test gives additional reassurance. If the tape shows no signs of warming, consider replacing it before winter weather intensifies.
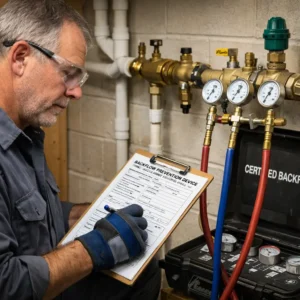
When Heat Tape Is Not Enough
Heat tape provides valuable protection, but when freezing leads to leaks or pipe damage, homeowners also need to understand how long it can take to dry after a burst pipe and when professional help becomes necessary especially for plumbing hidden behind walls or already weakened by previous freeze events. Homes with recurring freeze problems often benefit from a broader winterization plan. DNA Plumbing and Heating offers expert solutions that reinforce exposed plumbing, improve insulation, and help protect vulnerable lines during severe cold.
Conclusion
Using heat tape for frozen pipes is one of the most effective ways to prevent winter plumbing problems, especially in unheated or draft-prone areas of the home. When installed correctly, heat tape delivers consistent warmth that helps keep water flowing and reduces the risk of burst pipes. DNA Plumbing and Heating provides skilled support for homeowners who want reliable winter protection, offering professional guidance, safe installation, and trusted solutions tailored to US homes. Contact DNA Plumbing and Heating today to schedule winter-prep services and keep your plumbing secure through every cold spell.
")