
Introduction
A pressure vacuum breaker leaking can signal a problem within your irrigation system and may affect water safety if left unaddressed. This device protects your potable supply, so any malfunction requires attention. Homeowners often notice dripping, spraying, or inconsistent operation without knowing the cause. Understanding why these failures occur and how to approach pressure vacuum breaker troubleshooting helps you respond effectively before the issue leads to more costly plumbing repairs.
If you notice early warning signs, it may be worth booking a backflow performance check to confirm everything is working as it should.
How a Pressure Vacuum Breaker Works
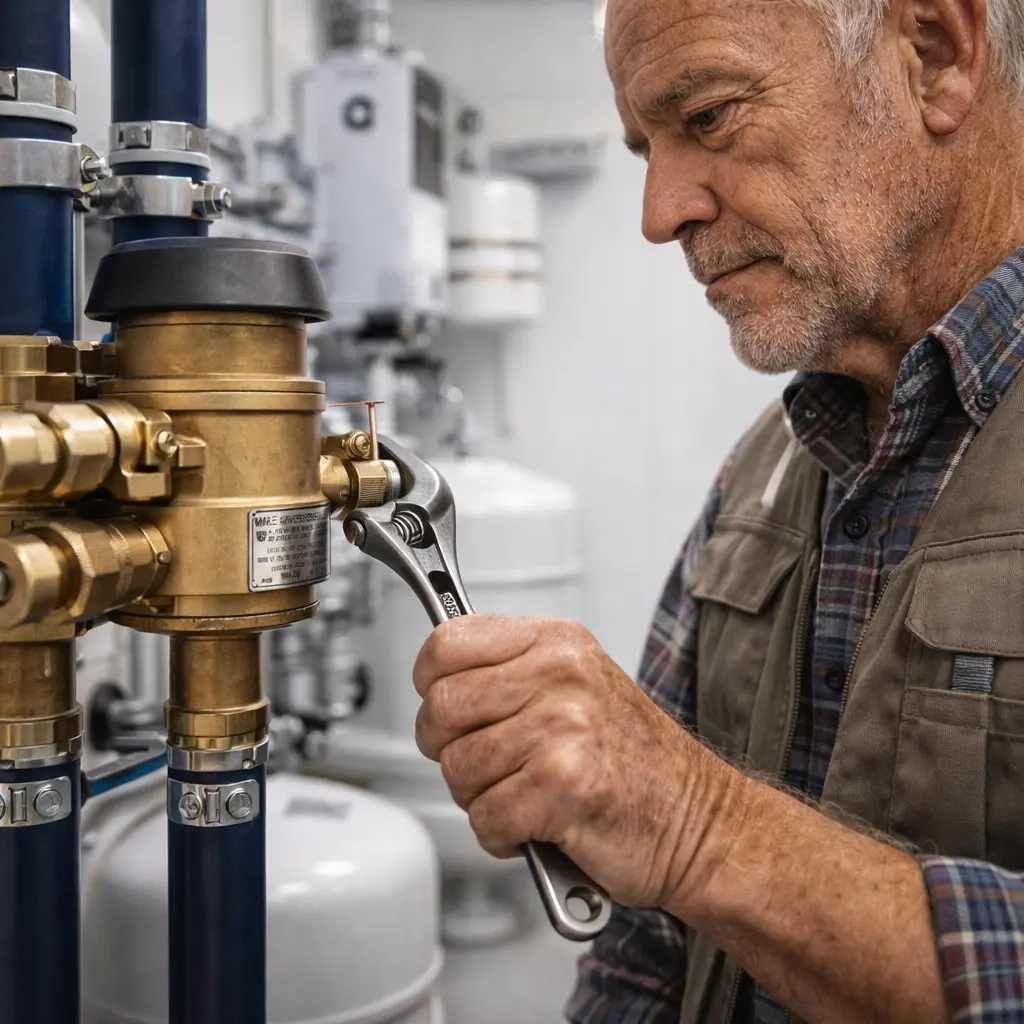
A pressure vacuum breaker uses a check valve and an air inlet valve to control flow direction and protect water quality. Under normal conditions, water moves forward while the air inlet remains closed.
When supply pressure drops, the air inlet opens and breaks the vacuum effect. This prevents water from flowing in the wrong direction and reduces the risk of contamination entering your clean water supply.
In some systems, a DCVA backflow preventer is used instead, providing protection through a dual check valve mechanism. While both devices serve a similar purpose, they operate differently based on system design and installation requirements.
Diagnosing Pressure Vacuum Breaker Leaks
Water Leaking from the Top Vent Cap
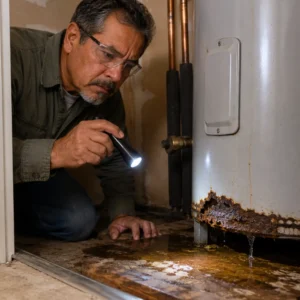
Water escaping from the top vent cap usually indicates an issue with internal sealing components. This is commonly caused by a worn poppet seal, debris sitting on the valve seat, or a failed bonnet O-ring that prevents proper closure. When these parts cannot seal correctly, water is released through the air inlet opening.
Fix: Clean the valve seat thoroughly and replace the poppet seal or bonnet O-ring if wear is visible.
Moisture Around the Base or Connected Pipes
Moisture forming around the base or pipe connections is often linked to external sealing issues rather than internal valve failure. Loose union nuts, deteriorated thread sealant, or small cracks in the housing can allow water to escape under pressure.
Fix: Tighten all fittings, reapply thread sealant, and inspect the body for cracks that may require replacement.
Device Fails to Hold Pressure or Stop Backflow
If the device cannot maintain pressure or prevent reverse flow, the issue typically lies within the internal check mechanism. A damaged check valve, worn poppet, or a poppet stuck in the open position can stop the valve from sealing properly.
Fix: Inspect internal components and replace the check valve or poppet to restore proper backflow prevention.
How to Fix Pressure Vacuum Breaker Problems – explain
Fixing a pressure vacuum breaker (PVB) requires a careful, step-by-step approach to ensure all components are cleaned, repaired, and reassembled correctly.
Step 1 Turn Off Water Supply and Open the Bonnet
Shut off the water supply completely and relieve any pressure in the line before starting. The bonnet is the domed cap located on top of the device, usually secured with screws or a threaded ring. Carefully remove it to access the internal components.
Step 2 Remove Buildup and Inspect Components
Clean the internal parts using a soft cloth to remove debris, mineral deposits, or rubber fragments. Pay close attention to the poppet seat and sealing surfaces, as even small particles can prevent proper closure.
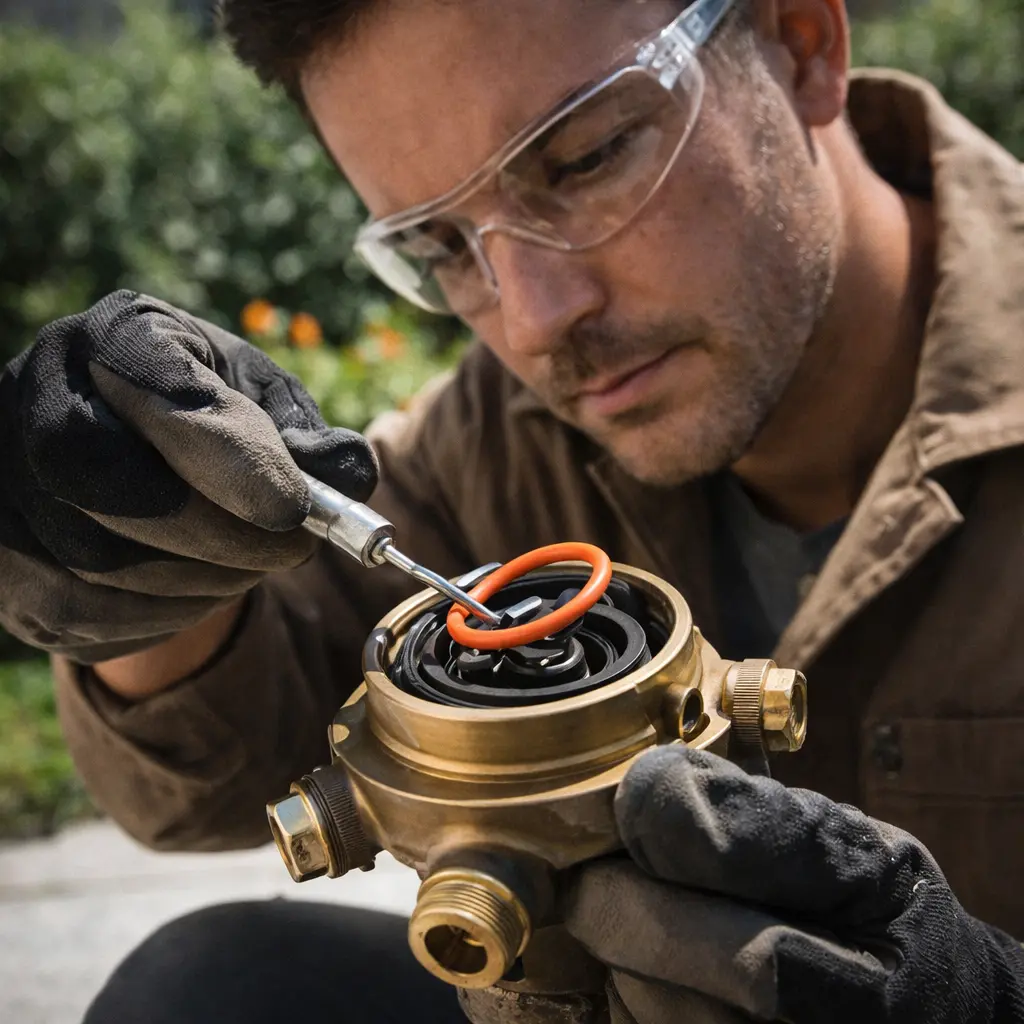
Step 3 Replace Damaged Seals or Valves
Check seals, O-rings, and valve components for wear or damage. Use a repair kit that matches the manufacturer and model of your PVB. Ensure seals are positioned correctly, as improper placement can lead to immediate leakage.
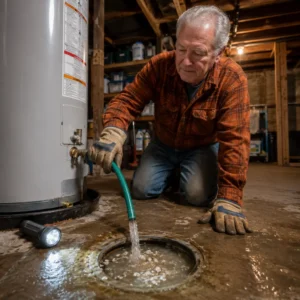
Step 4 Flush the Irrigation System
Before reassembly, briefly run each irrigation zone to flush out any remaining debris. This prevents particles from re-entering the valve and affecting performance after repair.
Step 5 Reassemble and Restore Water Supply
Reinstall the bonnet carefully, tightening it to a secure fit (typically finger-tight plus a quarter turn). Avoid over-tightening, as this can damage the housing. Once secured, turn the water supply back on gradually.
Step 6 Observe Performance and Confirm Operation
Run the system and monitor the valve during operation. Check for leaks and observe the bonnet vent if it remains dry while water is flowing, the repair has been successful.
Proper System Startup After Repair
Restarting the system should always be done gradually to protect internal components and ensure the repair holds. Begin by opening the downstream isolation valve first, followed by the upstream supply valve, both slowly. This sequence allows pressure to build in a controlled manner and prevents sudden surges.
A fast-opening upstream valve can create a pressure spike that may dislodge the newly seated poppet or disturb internal seals. Allow the system a few moments to stabilize before bringing it to full operation.
After startup, run the system for several minutes and observe the vent cap closely. A dry vent during a full 5-minute cycle confirms that the valve is sealing correctly and the repair has been successful.
How Often Should a Pressure Vacuum Breaker Be Tested?
Most water authorities require a pressure vacuum breaker (PVB) to be tested once per year by a certified backflow tester to ensure it is functioning correctly. Additional testing is recommended after any internal repair, following spring startup after winter shutdown, and after any known pressure surge that could affect valve performance. Regular testing helps identify partial failures early, allowing timely repairs before complete failure occurs. In many areas, test reports must be filed with the relevant local authority to confirm the system meets compliance requirements.
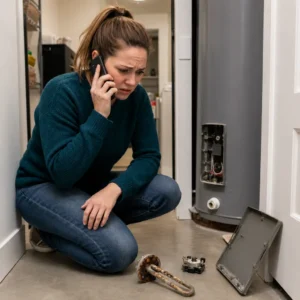
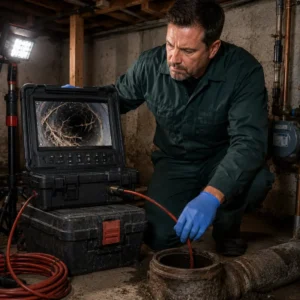
When to Call a Professional
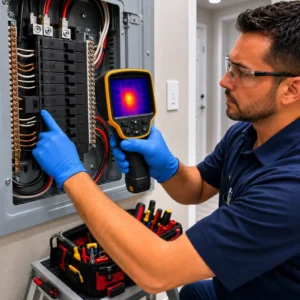
If basic cleaning or part replacement does not resolve the issue, a more detailed inspection may be required. Persistent problems often indicate deeper faults that need professional assessment.
Call a professional if water continues dripping from the vent cap even after replacing the poppet seal and cleaning the seat, as the seat surface itself may be damaged. If the device fails two consecutive annual tests despite repairs, replacement is usually the more reliable solution. You should also seek help if you are unsure about selecting the correct repair kit, since using the wrong components can lead to improper sealing or non-compliance.
Professional assistance is recommended for systems installed in commercial properties or multi-unit buildings, where certified testing is typically required. In many areas, while basic maintenance can be performed independently, final testing and documentation must be carried out by a certified backflow tester to ensure compliance and safe operation.
Conclusion
A pressure vacuum breaker that is inspected and maintained regularly can continue to protect your water system effectively. Minor issues can often be resolved with targeted repairs, while more extensive damage may require replacement.
DNA Plumbing and Heating can inspect your system, diagnose what is causing the fault, and confirm whether repair or replacement is the right approach to keep your water supply protected.

")