Introduction:
Pipe excavation involves carefully opening the ground around a buried plumbing line to provide direct access to the damaged section. Depending on the problem, this may involve a sewer line, water line, or another underground plumbing connection.
With underground pipe excavation, the affected area is opened so the pipe can be physically inspected and worked on. This approach can provide practical pipe excavation solutions when the condition of the line makes direct access necessary.
When Is Excavation Needed for Pipe Repair?
Excavation is not automatically required every time an underground pipe develops a problem. Some conditions can be handled through existing access points or with trenchless techniques.
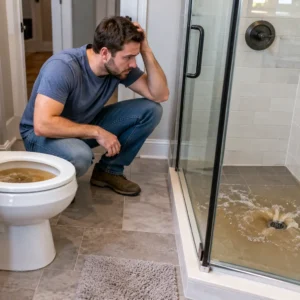
Direct access may be considered when there is a severely damaged pipe, a collapsed sewer line , major displacement, extensive root intrusion, or deterioration that makes another repair method unsuitable.
How to Prepare for Pipe Excavation
Good preparation helps keep the excavation focused on the correct location and reduces unnecessary disturbance around the property.
Inspect and Locate the Damaged Pipe
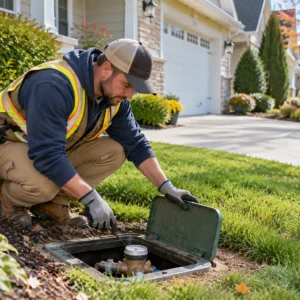
The first step is determining where the problem is located. For sewer lines, a sewer camera inspection or video pipe inspection may help identify cracks, root intrusion, displacement, blockages, or other visible damage.
Locate Underground Utilities
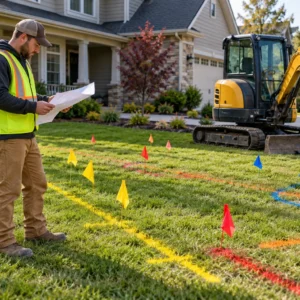
Buried plumbing lines may run close to gas, electrical, communication, or other utility services. These need to be identified before excavation begins.
Plan the Excavation Area
The excavation area is planned around the pipe location, depth, soil conditions, access, and type of repair. Depth should be confirmed rather than assumed, as how deep water lines are buried varies with frost conditions and the original installation.
Check Permits and Site Requirements
Depending on the location and scope of the work, local permits or other requirements may apply.
The Pipe Excavation Process Step by Step
The exact plumbing excavation process varies from one property to another, but the basic stages are generally similar.
Mark the Excavation Area
The damaged section and excavation boundaries are identified before soil is removed. Nearby utilities should already be located and marked.
This helps keep digging focused on the section where pipe access is required.
Remove Soil and Open the Trench
Soil is then removed using suitable excavation equipment or careful hand digging where conditions require it.
With traditional pipe excavation, an open area or trench is created to reach the buried line. The depth and size of the opening depend on the location of the pipe and the space required to complete the work.
Additional care is needed around existing utility lines and other buried services.
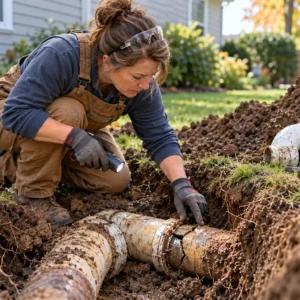
Expose and Inspect the Pipe
Once enough soil has been removed, the affected pipe can be exposed.
Direct pipe access allows the damaged section, connections, alignment, and surrounding ground to be examined. In some cases, the full extent of the damage becomes clearer only after the pipe is uncovered.
Secure the Excavation
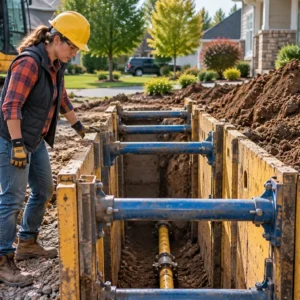
Excavation conditions need to remain safe while work is being carried out. Depth, soil stability, water, nearby loads, and trench shoring all need to be considered.
Depending on the excavation, suitable protective measures such as shoring or other trench protection may be required. Workers should not enter an excavation that has not been properly assessed and protected for the conditions present.
How to Repair Pipes at Excavations
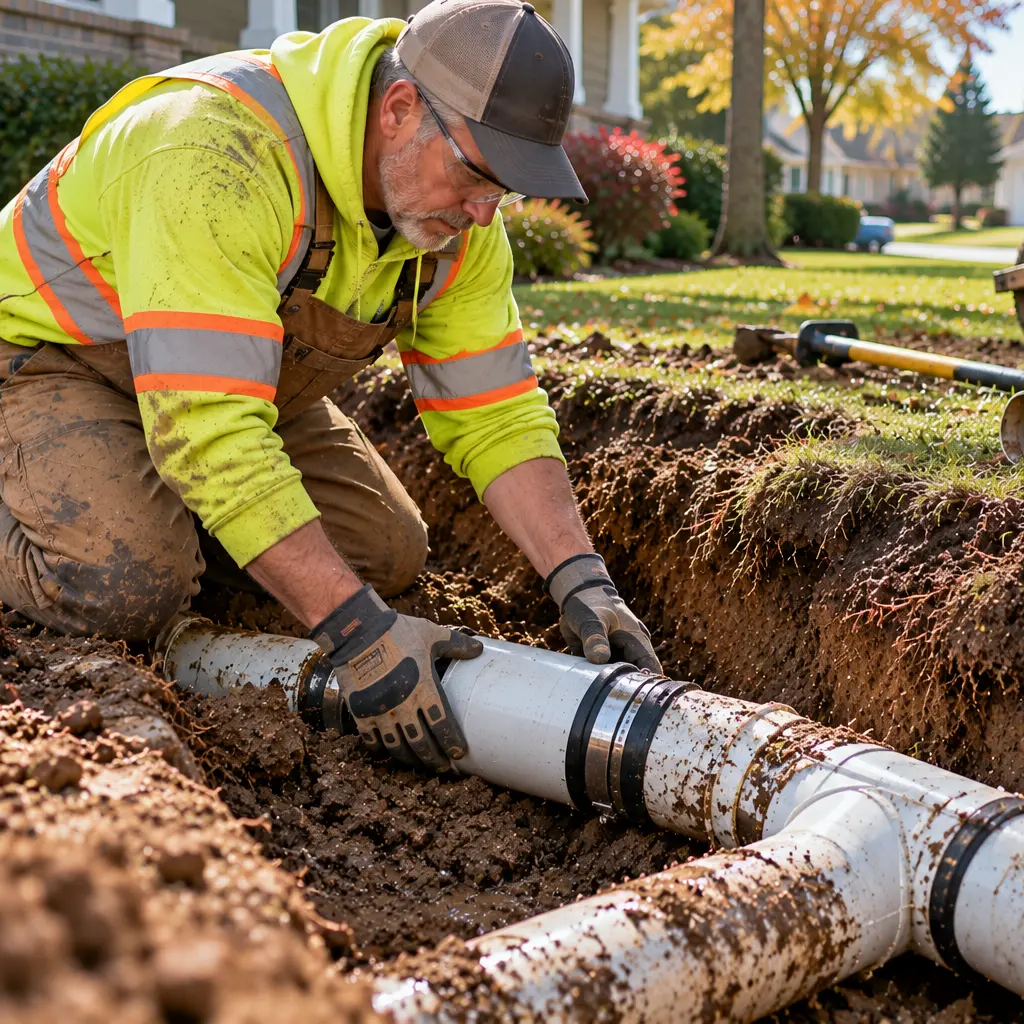
Once the pipe is exposed, the repair depends on what has failed. Some projects involve replacing one damaged section, while others reveal deterioration that requires a longer section of line to be renewed.
Remove the Damaged Pipe Section
A cracked, collapsed, or badly deteriorated section can be removed after the surrounding pipe has been assessed.
The remaining ends are prepared so the replacement section can be properly connected.
Install the Replacement Pipe
A suitable replacement pipe is installed according to the existing system and repair requirements.
Materials such as PVC or HDPE may be appropriate in certain applications, but material selection depends on the type of line, local requirements, existing connections, and site conditions.
Correct Alignment and Slope
Replacement is not only about inserting a new section. The line needs suitable alignment and, for gravity drainage, an appropriate slope so wastewater can continue moving through the system.
This stage may also involve addressing surrounding conditions that contributed to the failure, such as root intrusion or inadequate pipe support.
Test the Repaired Pipe
The repaired line should be checked before the excavation is closed.
Depending on the type of plumbing line, this may include appropriate leak checks, flow testing, or another inspection method. Testing at this stage allows problems to be addressed while the pipe remains accessible.
When Is Excavation Used for Pipe Replacement?
Repair is suitable when the problem is limited enough for the damaged section to be corrected. Excavation for pipe replacement may be considered when deterioration affects a larger portion of the line or when multiple sections have failed.
A collapsed pipe may also require replacement if its structure can no longer support an effective repair. Similar considerations apply when the existing line has serious alignment problems or widespread deterioration.
The decision should be based on the condition of the entire affected section, not simply the first visible point of damage.
What Happens After Pipe Excavation?
Completing the pipe repair is only part of the project. The open excavation also needs to be properly closed and the work area restored.
Backfill the Excavation
Once the repaired line has been checked, soil can be returned to the excavation.
Backfilling the excavation needs to support the repaired pipe and reduce unwanted settlement. Appropriate compaction is completed as the area is filled.
Check the Finished Area
A final inspection confirms that the repaired or replaced line is functioning as intended before the project is considered complete.
Restore the Excavated Area
The surface is then restored as appropriate for the location. This may include final grading and preparing the disturbed ground for landscaping or other surface restoration.
The extent of restoration depends on where excavation took place and what surfaces were affected.
What to Expect During Residential Pipe Excavation
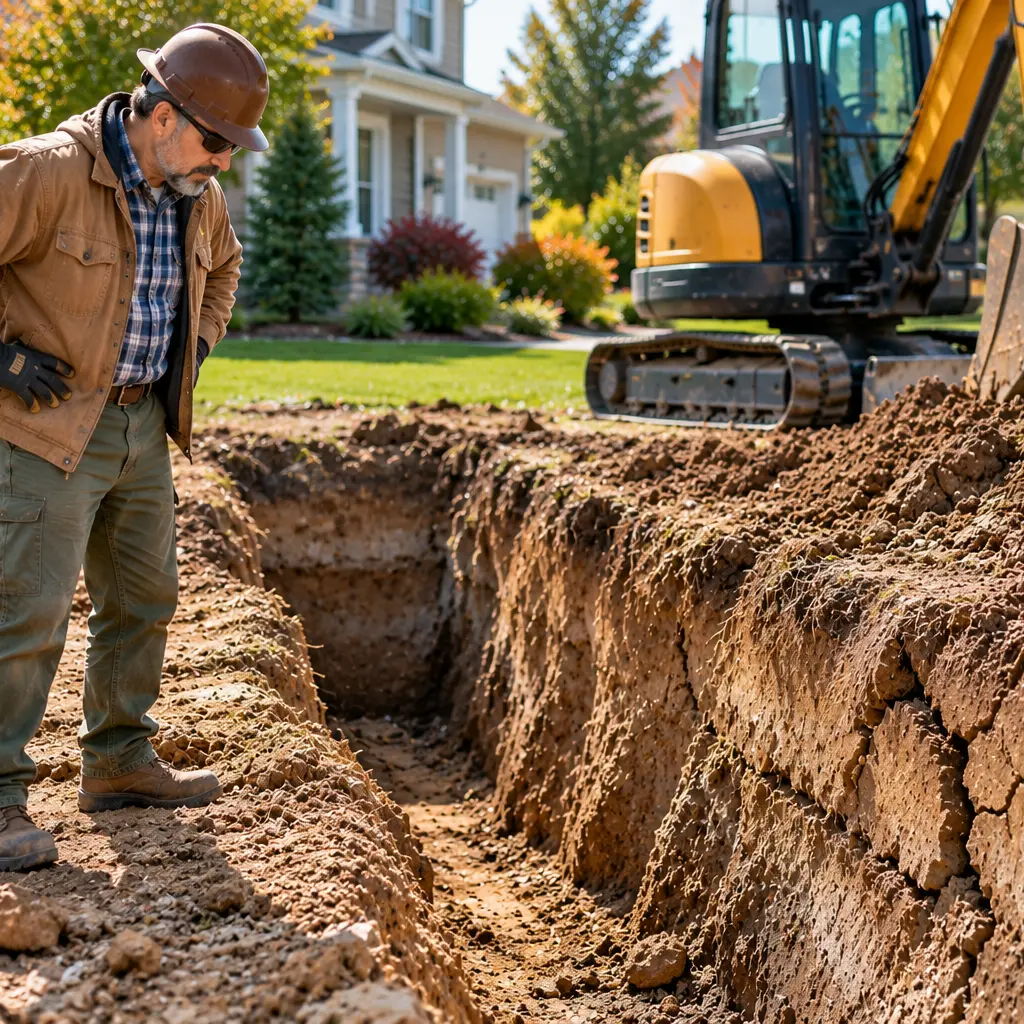
During residential pipe excavation, homeowners can expect some temporary disruption around the part of the property where the buried line needs to be accessed.
Excavation equipment may need access to the work area, and an open trench or targeted excavation will remain while the pipe is being repaired. The damaged section is exposed, repaired or replaced, and tested before soil is returned.
The amount of property affected varies considerably. A shallow line in an accessible yard creates different working conditions from a deep sewer line near a driveway, structure, or other buried utilities.
Final Thoughts on Pipe Excavation
Pipe excavation provides direct access to buried plumbing lines when their condition or location requires an open repair. It can be used for damaged sewer lines, water lines, collapsed sections, alignment problems, and excavation for pipe replacement when a larger part of the system needs to be renewed.
DNA Plumbing and Heating provides excavation and underground plumbing services for properties in Northville, Ann Arbor, and surrounding Michigan areas. When an underground pipe problem requires direct access, the team can inspect the situation and determine an appropriate approach before excavation work begins.